“This plastic needle looked a lot sharper in CAD!” The engineer looked at the medical component and knew the plastic part was supposed to be sharp enough to pierce a foil in the mating component. The plastic needle should then release a reagent into the blood testing system. However, the molded needles were not sharp enough to pierce the foil at the required puncture force. The engineer needed a quick solution at a low cost that would move the program forward. Lean product development solves issues early, quickly, and cost effectively.
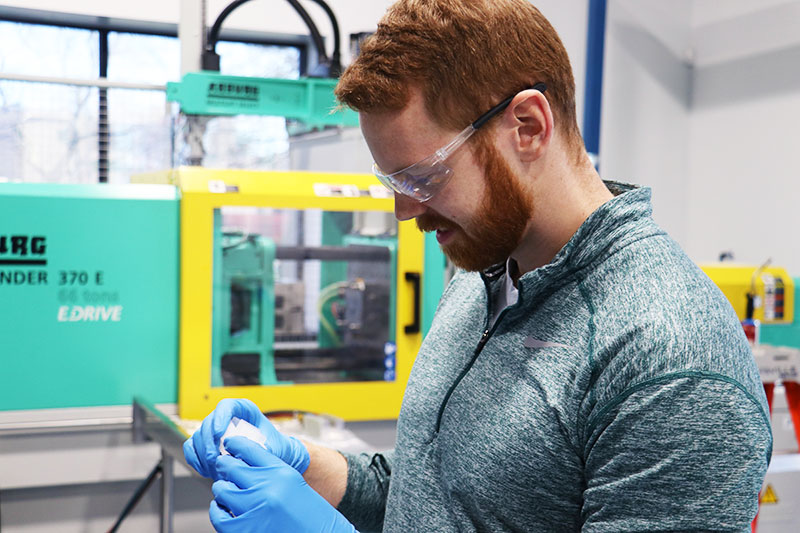
The client turned to Natech for help. Part of the challenge lay in the very small size of the plastic needles. This compromised the functionality of the device. The client had already invested the time and money to build a mold and did not want to repeat the entire process for a new design that may or may not even work.

The Natech Engineers followed the lean product development process. This iterative approach to problem solving cycles through testing and improvement in a way that mirrors the scientific method of learning. Lean product development uses the Plan-Do-Check-Act framework to integrate cross-functional knowledge. You can read more about the history of Plan-Do-Study-Act and Plan-Do-Check-Act here and how it relates to the scientific method.
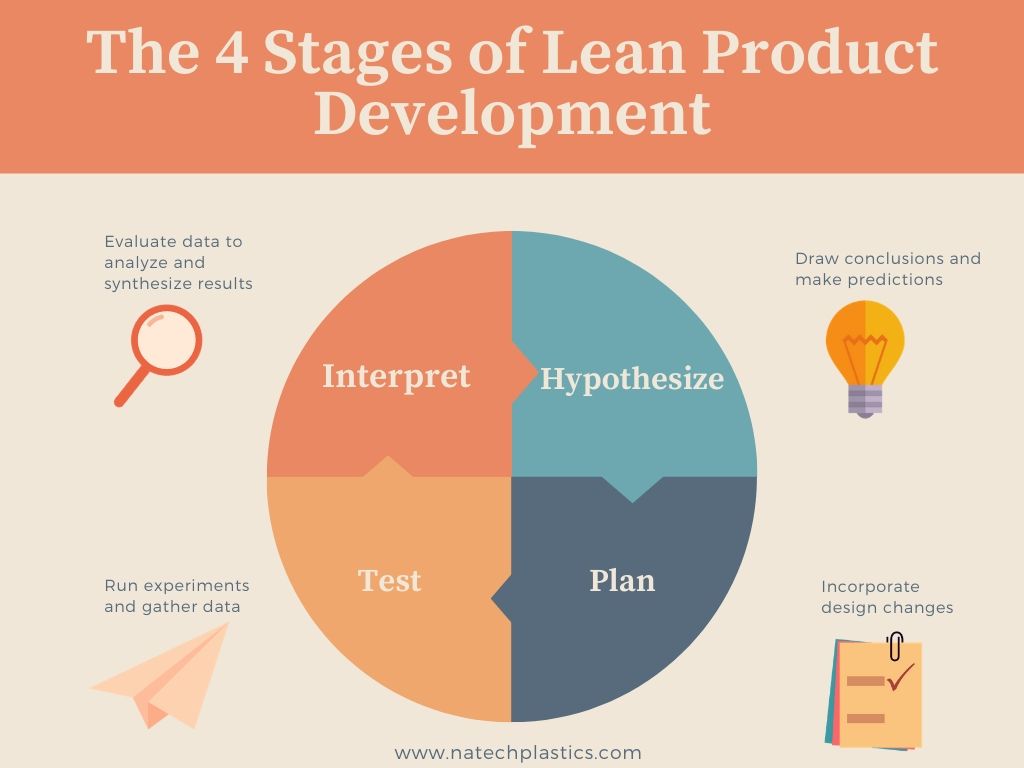
Hypothesize
Lean product development specifies the potential answer to the question or solution to the observed problem up front. This represents the Act step in the Plan-Do-Check-Act cycle. You want to pose the hypothesis as a prediction of the future to fit all relevant past data in a way that can be disproven. In other words, you want to define a clear rule consistent with your observations so far.
The Natech Engineers hypothesized that non-fills and gas traps during the injection molding process caused the dull tip. If the tip of the mold cavity were the last place to fill with resin, any gas in the cavity would get forced into that tip with no escape route. As the resin filled the cavity, it would push up against the gas in the tip where it would stop, cool, and harden. They predicted that allowing the gas to escape from the tip should result in a fine point on the plastic needle.
Plan
During the Plan stage of lean product development, the engineers create designs or change existing designs based on the new hypothesis. This includes drafting the experiment, creating the demo, building the model, prototyping, improving, and debugging.
The Natech Engineers decided to start with adjusting the injection molding process. In the best-case scenario, an improved process would fill the cavity with no need to invest time and money in a mold change. If that did not work, they would adjust the mold design to vent at the needle tip. Both the updated injection molding process and later the updated mold design represent the plan.
Test
The next step in lean product development tests the design and the hypothesis. This involves undertaking the experiment, using the prototype, running the trial, and gathering your data.
The Natech Engineers varied the injection molding processing parameters, changed fill speeds, and lowered clamp tonnage. But they did not reach success with these approaches so they moved to updating the mold design. Rather than testing the new mold design with the mold itself, they started with MoldFlow simulation. This helped ensure that the new mold design would work before committing the change to steel.
Interpret
Lean product development interprets data using both analysis and synthesis to gain a deeper understanding of the underlying principles at play. Lean product development will actually start with the Interpret phase and return to it with each iteration of the cycle. This represents the Check or Study phase of the Lean Product Development Cycle.
MoldFlow simulation accelerates product development by identifying risks, potential causes, and likely solutions. The simulation confirmed that air traps and gas traps did indeed cause the non-fills. Venting at the tip would relieve the gas trap and allow the resin to fill the cavity.
This raised the new question of how best to vent at that location of the existing tool in the most economical, efficient, and effective way. For this, the process engineer and project engineer ran multiple venting solutions through the MoldFlow simulation until they found the design that best eliminated the gas traps.
With the new design, they made the tool modification, put the tool back into the press and made new samples. These parts did not have non-fills or gas traps in those areas. With all of their requirements met, the client approved of and had success with their device. The client saved time and money and did not have to wait for a long-lead modification.
The Natech Engineers tested multiple hypotheses and designs to help the client launch their product earlier and with reduced risk. They followed the principles of lean product development to expedite the learning process.
Unexpected challenges crop up during any product development. Developers of new products deserve a supplier who can solve issues in a timely and cost-effective way. Lean product development makes small, incremental changes through many accelerated iterations of the development cycle.
For a preliminary review of your design for manufacturing readiness, call to speak to our engineers at 631-580-3506.